Showing posts with label crafting. Show all posts

Monday, 23 February 2015

DIY Homeschool Supplies to Save You Money!

Homeschooling can be really expensive.  We're also a single income family so money can be pretty tight sometimes.  Over the years I've learned a few tricks for making our pennies last.


  My favourite is making things myself.  I loooove the whole DIY movement and with Pinterest, the ideas are endless.  I've pulled together some of my favourite money-saving, homeschool related DIY projects to help YOU save some money!


How to Make Glitter Paint from Simple Fun for Kids
Homemade Self- Hardening Clay from Redfly Creations
Homemade Stamp Pads from Paging Fun Mums
Homemade Glue from Paging Fun Mums
Easy Homemade Water Colours from Growing a Jeweled Rose


DIY Rustic Art Display Hanger from Making It In the Mountains
Pringles Can Turned Paint Brush Holder from Mod Podge Rocks
How to Make a DIY Supply Board from Should I Be Mopping the Floor
DIY File Folder Box from Mothering with Creativity
Goodwill Mirror to Chalkboard Tutorial from Our Southern Home
How to Make a Homemade Globe from Bright Hub Education
Make Your Own Whiteboard from Modern Mrs. Darcy
DIY Bulletin Board from Fun Cheap or Free


DIY Wooden Base Ten Blocks from And Next Comes L
DIY: Number cards, hundred squares, teens and tens from Walk Beside Me
DIY Skip Counting Boards from Classical Conversations at Home
Make Your Own Abacus from education.com


Toddler Fine Motor with Objects Around the Home from Pink Oatmeal
Homemade Light Table from Learn Create Love
The $30, 30-Minute, Do-It-Yourself Sensory Table from A Teaching Mommy
Feed the Alphabet Monster Game from I Can Teach My Child
DIY Salt Tray and Alphabet Cards from This Mummas Life

What projects would you add to the list?


Monday, 2 February 2015

Valentine's Day Craft: Yarn Heart Ornaments

We are right in the thick of our Valentine's Day crafting.  Today we are making yarn heart ornaments. 


These little ornaments are super easy (and cheap) to make and when you're done, you've got a great addition to your Valentine's Day decor !  They can be a little messy but they're a great sensory activity. 

What You Need
Yarn cut into varying lengths (this is a great time to use up yarn scraps)
White Glue
Water
Wax paper
A permanent marker

Mix up two parts glue to one part water in a bowl

Put out a large piece of wax paper with hearts drawn on it with permanent marker. You want the hearts to be large enough that the kids have room to work.  I aimed for the size of my hand or a little larger. 


 Have the children put their yarn into the bowl and mix it all up until all of the pieces are coated in the glue.

Now they can pull the pieces of yarn out one at a time, take off the excess glue and arrange them inside the heart on the wax paper. 


Once they've finished arranging their yarn, set everything aside to dry.


When the glue has completely dried, carefully peel the wax paper off.

String the hearts onto a long piece of yarn.


Hang up your creations and enjoy!

Where I share: Good Tips Tuesday, Love to Learn

Monday, 26 January 2015

You're Fanta-stick DIY Valentine


My kids love bringing sticks home from our nature walks.  We constantly have a pile of sticks at the front of our house.  Am I the only one with this problem?  

If, by chance, I'm not the only one, I've got a nice little craft that will use up some of those sticks.  If I am the only one, you can still do the craft...you just have to go find some sticks first.
  
Before you gather the kids up and get started, print out the Valentine (by clicking the image at the bottom of this post) and find the thinnest twigs you've got and cut them into little pieces.  I aimed for 1-2 inches.

If you want you can have the kids paint the stick pieces first. 

Put a thick layer of glue on (or just around if you prefer) the heart and let the kids arrange the sticks on it.


Let the glue dry and voila! Your quick and easy (and totally free!) Valentines are finished!!


Click on the image below to download the printable.


Friday, 23 January 2015

Waldorf Inspired Valentine's Day Crafts


15 Waldorf Inspired Valentine's Day Crafts

Being ecclectic homeschoolers, we like to pick things that we love from different educational philosophies.  If we are ever looking for craft or handwork ideas, we head straight to our favourite Waldorf inspired blogs.  There is always something so peaceful and beautiful about their projects.
  
If you're looking for some inspiration for your Valentine's Day crafting, check out the following ideas from some awesome bloggers (seriously, some of my favourites are in here!).


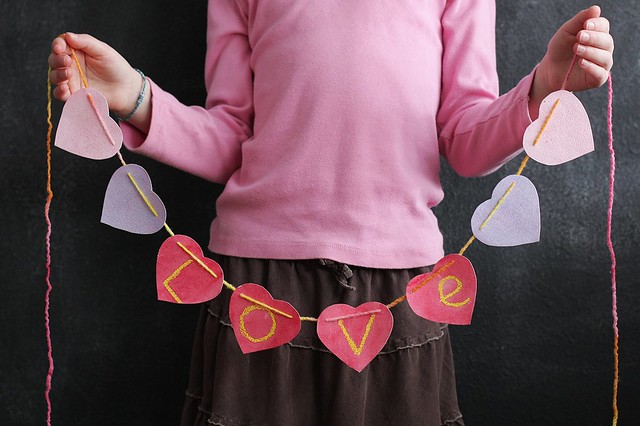
Waldorf Beeswax Resist Valentines Bunting from Frontier Dreams

IMG_4223

Wax paper Stained Glass Hearts from The Magic Onions

Wax Paper and Crayon Stained Glass Window Hearts : www.theMagicOnions.com

Heart Necklace from The Magic Onions


Colourful Heart Garland from The Magic Onions

 Heart Garland for Valentine's Day : www.theMagicOnions.com

Puffy Hearts Wall Hanging from Wee Folk Art


Valentine Babies from Lusa Organics

DSC_0053

Sew-a-Heart Valentines from Red Bird Crafts


Valentine's Day Peg Doll from Buzz Mills

IMG_5181

DIY (needle felted) Valentine's T-shirts from me!


Valentine's Felt Gnome Tutorial from How to Run a Home Daycare

Valentine's-Day-Felt-Gnome-Tutorial-sml

Knitted Hearts from Natural Suburbia


Love Inspired Suncatchers from Twig and Toadstool


Pinecone Love Fairies from Twig and Toadstool


"You Rock" Rocks from Here We are Together

P1460290

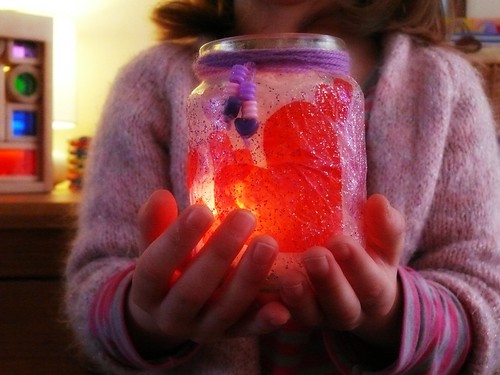
Tissue Paper and Glitter Heart Jar Candle Holder from Here We Are Together

P1460265

Wednesday, 21 January 2015

DIY Felt Embellished Valentine's Day Shirts

I know that some people (ahem...my husband) think that co-ordinating holiday t-shirts are silly but I can't help it...I love them.  It's getting harder and harder for me to find shirts that I like so I'm having to take things into my own hands. 

Enter the DIY Felt Embellished Valentine's Day Shirts.


These are quick to make, which is great for those of us that have to make many of them, and they're easy! They're also super cute.

What You Need
  • plain long sleeved t-shirt
  • wool roving
  • felting needle
  • sponge (either the special ones made for felting, or just a regular sponge works too)
  • cookie cutter 
Put the shirt on and mark where you want your design to be with the pencil. Take the shirt off.

Put the sponge inside the shirt, underneath where you will be working.

Arrange the roving inside the cookie cutter.


Stab away at it with your needle until it has felted.  The roving will shrink down significantly and be harder. Be very careful about keeping fingers out of the way...these needles are sharp!!


If you look at the other side of the shirt when you're finished, you'll see that the roving is sticking out the back.  


Spritz the felted areas with water and iron them (both sides) to set it.  

 And voila!  Go put your kids in their adorable new Valentine's Day shirts and enjoy!


Monday, 19 January 2015

Pinterest Boards for Seasonal Crafting

Pinterest Boards for Seasonal Crafting

We do a lot of crafting in our house.  I love all kinds of handwork and you will often find me nestled on the couch with a blanket and some knitting.  My kids have grown up surrounded by yarn and felt and all kinds of other mediums.  They have come to enjoy crafting just as much as I do (and sometimes more).

We also enjoy observing the seasons.  We are lucky to live in a part of the world that has four distinct seasons and we often tailor our crafting and homeschool lessons to fit with the season we are in.  Seasonal planning makes my life easier when it comes to choosing our projects for the year and it provides a whole lot of rich subject matter when it comes to learning.

If you are looking for seasonal crafting and learning ideas, please check out my pinboards!  I'm always adding new content.

Winter
Follow Kalista // When We're at Home's board Winter on Pinterest.
Spring
Follow Kalista // When We're at Home's board Spring on Pinterest.
Summer
Follow Kalista // When We're at Home's board Summer on Pinterest.
Autumn
Follow Kalista // When We're at Home's board Autumn on Pinterest.

Click the image below to see what the other blogger from iHomeschool network are pinning.  There's a huge wealth of information being shared and I'm quite sure there will be something for everyone! 


Wednesday, 10 December 2014

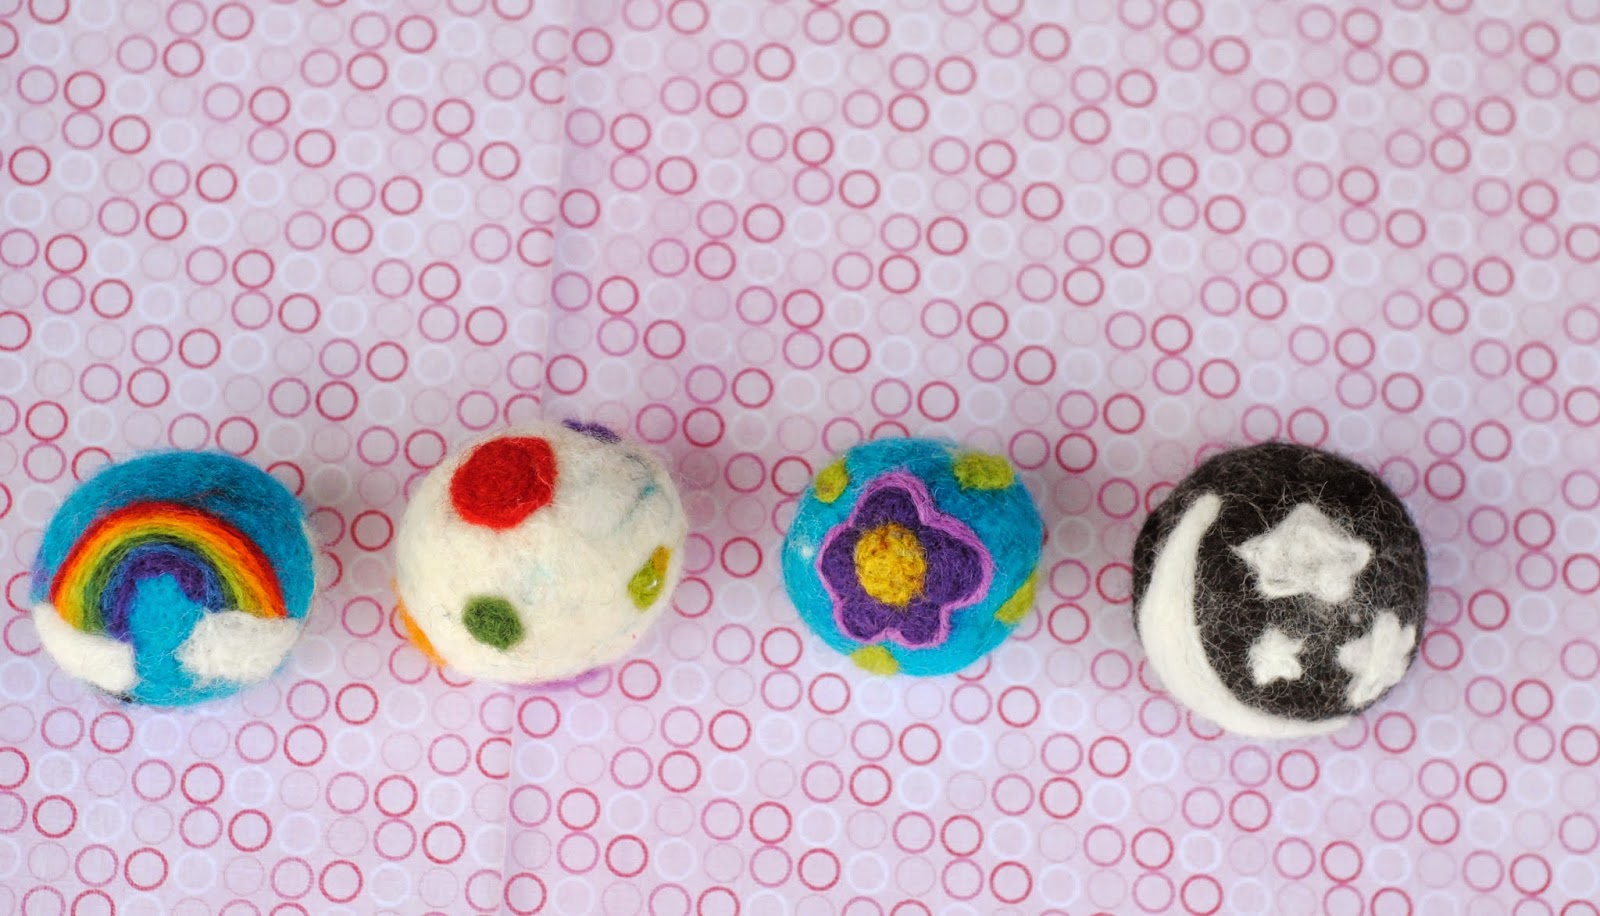
Wet Felted Wool Jingle Balls

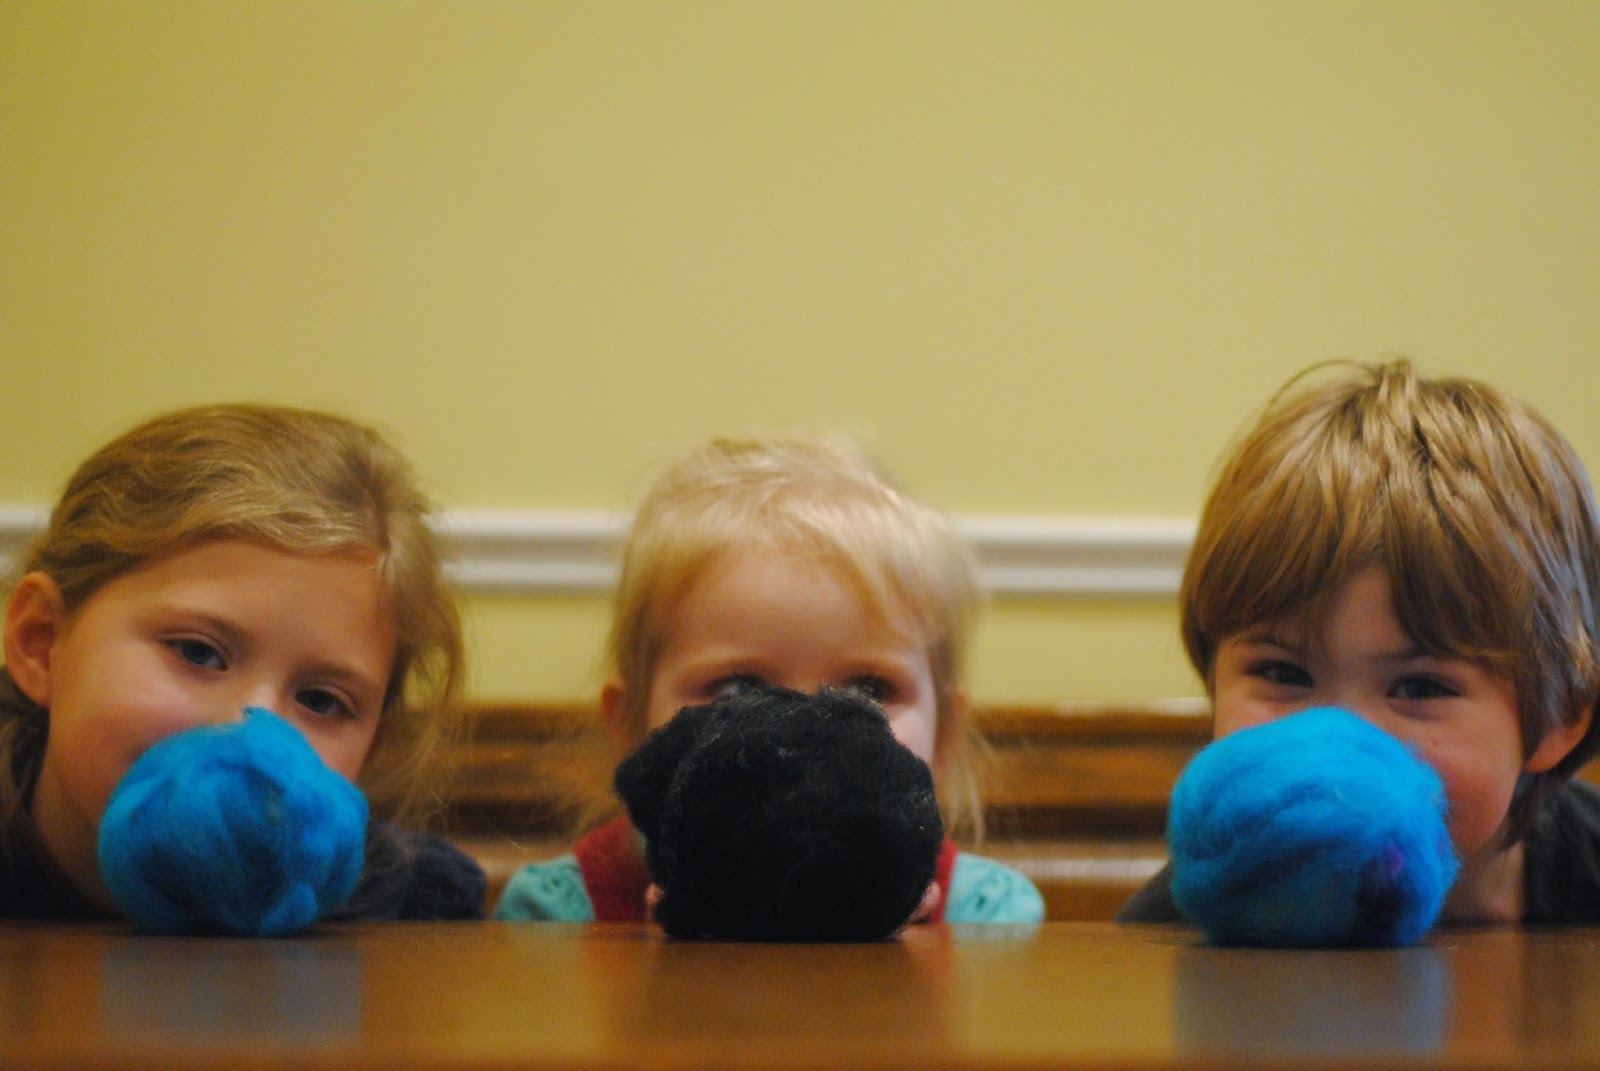
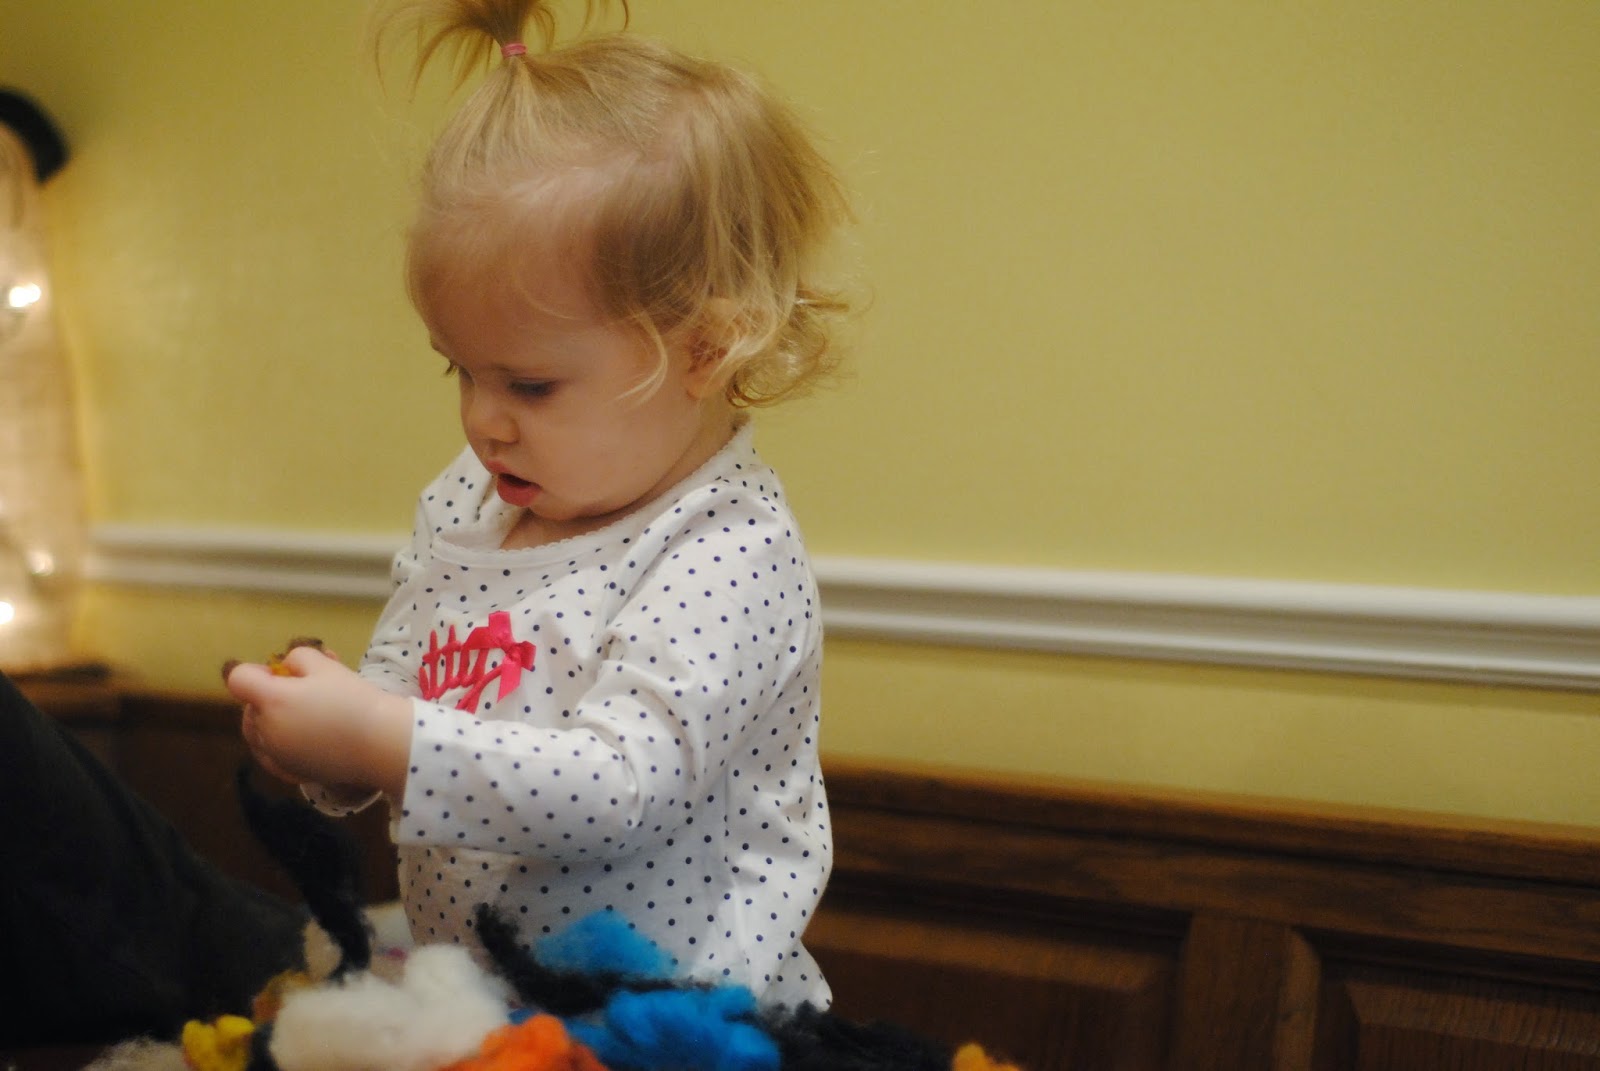
I love having toys made of natural fibres for my children, especially my babies.  They are beautiful, durable and often safer alternatives to the regular plastic stuff.  But.  They're also pretty expensive.  Luckily, there are a lot of toys that you can make yourself...like Wet Felted Wool Jingle Balls.  These are a great gift for babies.  They're soft and perfect for chewing on, they're visually appealing and the muted jingling sound is pretty soothing.  As an added bonus, they're super easy to make so you can involve your children in the process.  What better way to get kids excited about giving than to have them give a gift that they made themselves?

Wet Felted Wool Jingle Balls

Supplies Needed:

  • wool roving (in many colours if possible)
  • 2 large bowls or a double sink
  • dish soap
  • small bell
  • small towels (for each child's work space)
  • felting needle (optional)

Step 1:

Wrap wool roving around your bell.  Make sure to wrap it in different directions as this will make it easier for the fibres to grab on to one another (which is what felting is).  It should be quite large when you are done because as it felts, it will shrink down significantly.  Go for at least double the size you want your finished ball to be.


 Step 2:

Fill one bowl (or sink) with hot water and the other with cold. Set out towels (these will minimize the soapy water that inevitably makes its way out of the bowls and onto the table, floor, cat, small children, etc.) 

Step 3:

Put a little bit of dish soap on your wool roving.  This make it easier to handle without ruining its shape. 

Step 4: 

Dunk the ball in the hot water.  Bring it back out and start rubbing it in your hands.  You want to encourage it to take a round shape so treat it sort of like you would a snowball when you're rounding it out.  Start with lighter pressure until the outer layer of roving starts to felt.  Once that happens, you cam be a little rougher without worrying about the roving coming unwound.  


Step 5:

Dunk it in the cold water then continue working at it with your hands.  The drastic change in temperature will encourage them felting process.


Repeat steps 4 and 5 (adding more dish soap as needed) until the wool has shrunk down significantly and you have a hard, round ball.  

When this is done, I like to tie it into the toe of a pair of pantihose and throw it in the washing machine for one cycle.  This can felt it down further which is helpful when kids have been doing it.


Optional Step 6:

Use a felting needle to add embellishments to your jingle ball.  You could also sew ribbons to the bottom to make it a fun throwing toy.  I decided to needle felt pictures on ours.  This is something older children might enjoy trying as well.  Just make sure you supervise and warn them that those needles are SHARP (ask me how I know!).


Give it to your baby and watch them enjoy!
Related Posts Plugin for WordPress, Blogger...